
Sailor,
this is part 5 of my series about Windows 10 provisioning packages:
- Part 1: Windows 10 – Provisioning Packages – Overview
- Part 2: Windows 10 – Provisioning Packages – Installation Imaging and Creation Designer
- Part 3: Windows 10 – Provisioning Packages – Frequently Asked Questions
- Part 4: Windows 10 – Provisioning Packages – Install a single Application
- Part 5: Windows 10 – Provisioning Packages – Install multiple Applications
- Part 6: Windows 10 – Provisioning Packages – Install and Remove Applications and Apps by PowerShell
In the last part we talked about adding a single application within a provisioning package. As this is not sufficient in many cases, I recently had to figure out a way to add more than one application within this procedure.
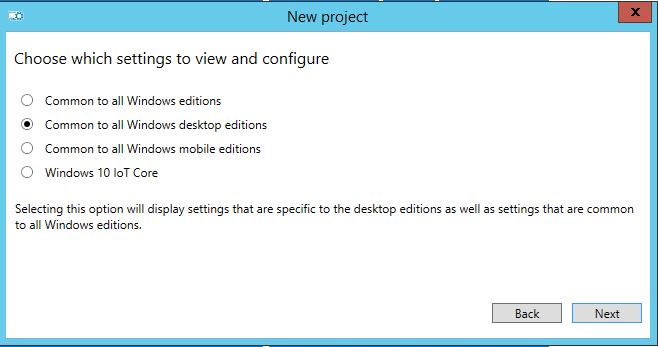
Unfortunately there’s only one way to execute a command line within the ICD. So we need to create a script for this. First you need to create a new project. Be sure to choose a new project which is “common to all Windows desktop editions” – otherwise you won’t have the ability to choose “Provisioning commands” in “Runtime settings”
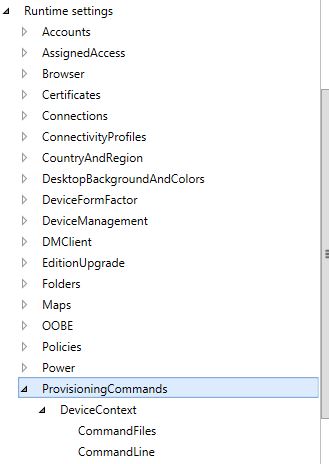
Select “Runtime settings” and click on “ProvisioningCommands”
Alright now – we need to create a batch file which installs the applications within the provisioning package. Below you will find an example of how you can install multiple applications using a batch file. In my example I install Google Chrome for Business because it’s an MSI and Citrix Receiver as an EXE File.
REM Create Logfile Directories
IF NOT EXIST "C:\Temp\ApplicationLogs" MD "C:\Temp\ApplicationLogs"
REM Define Logfiles
set LOGFILE-MSI=%SystemDrive%\Temp\ApplicationLogs\Chrome_install.log
set LOGFILE-EXE=%SystemDrive%\Temp\ApplicationLogs\CitrixReceiver_install.log

REM Install MSI
echo Install Chrome for Business MSI >> %LOGFILE-MSI%
msiexec /i GoogleChromeStandaloneEnterprise.msi NOGOOGLEUPDATEPING=1 /q /norestart /l*v %LOGFILE-MSI%
echo result: %ERRORLEVEL% >> %LOGFILE-MSI%
REM Install EXE
echo Install Citrix Receiver >> %LOGFILE-EXE%
CitrixReceiver.exe /install=agent /Silent /forceinstall /l*v %LOGFILE-EXE%
echo result: %ERRORLEVEL% >> %LOGFILE-EXE%
Put this code in an *bat file in my example it’s the “InstallMultipleApps.bat”. Then add the “CitrixReceiver.exe”, “googlechromestandaloneenterprise.msi” and the “InstallMultipleApps.bat” to the provisioning package by selecting them as “CommandFiles”
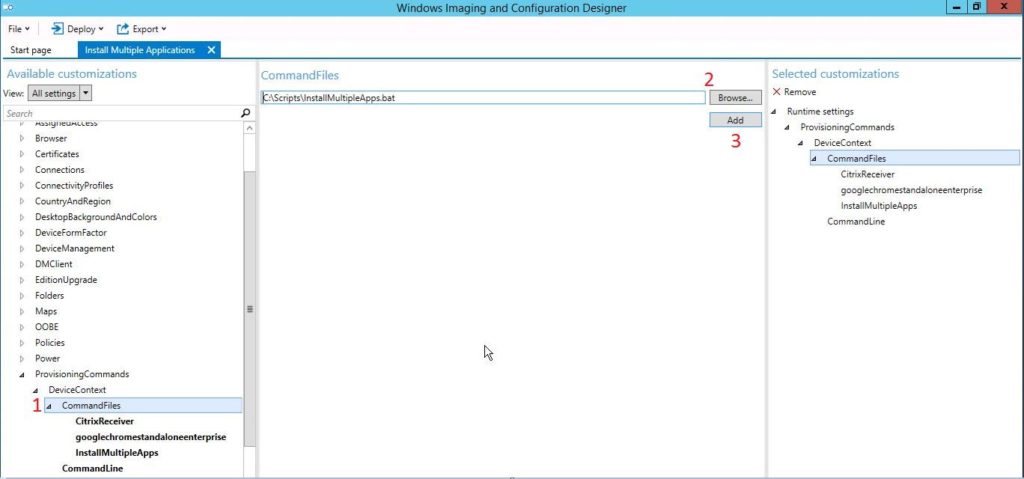
Then we need to configure the provisioning package to call the “InstallMultipleApps.bat” File. Therefore click on “CommandLine” and type:
cmd /c InstallMultipleApps.bat

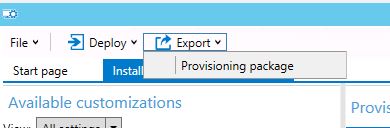
Then you’re ready to “Export” the “Provisioning Package”
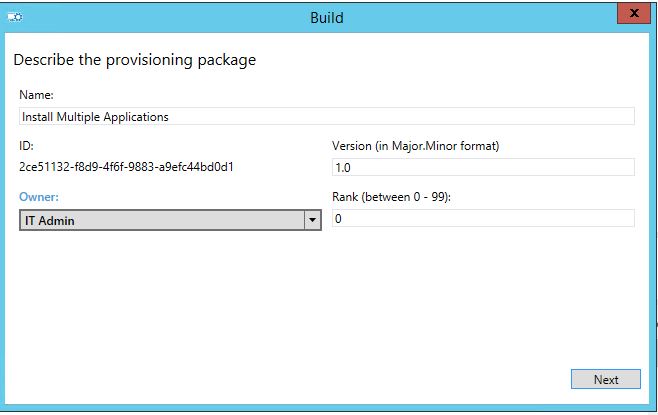
I changed the Owner to “IT Admin”.
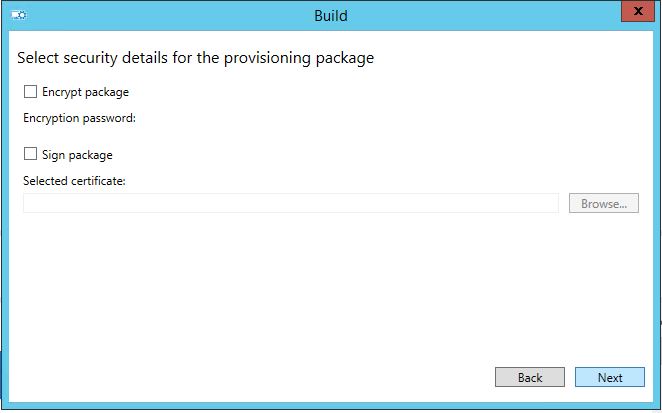
In the next step you can encrypt and sign the package. Remember: if you do not encrypt the package it can easily be unzipped with tools like 7zip. So if you store sensitive information in it always encrypt the packages.
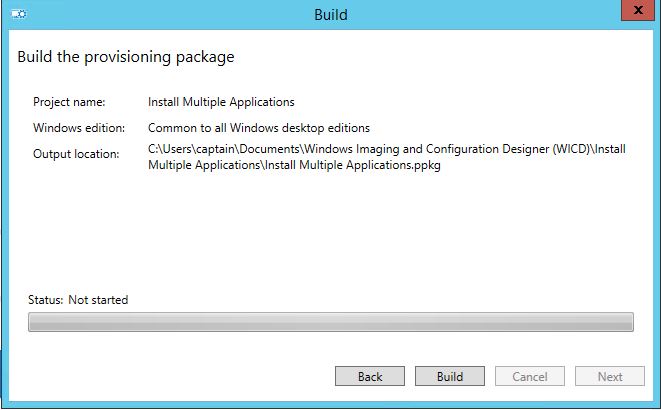
Review the settings and then build the package.
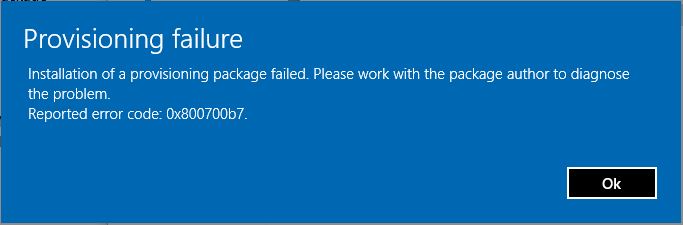
You will get your *.ppkg File with which you can install the applications. If you are testing the provisioning packages don’t forget to delete them after you launched them or change the version number.
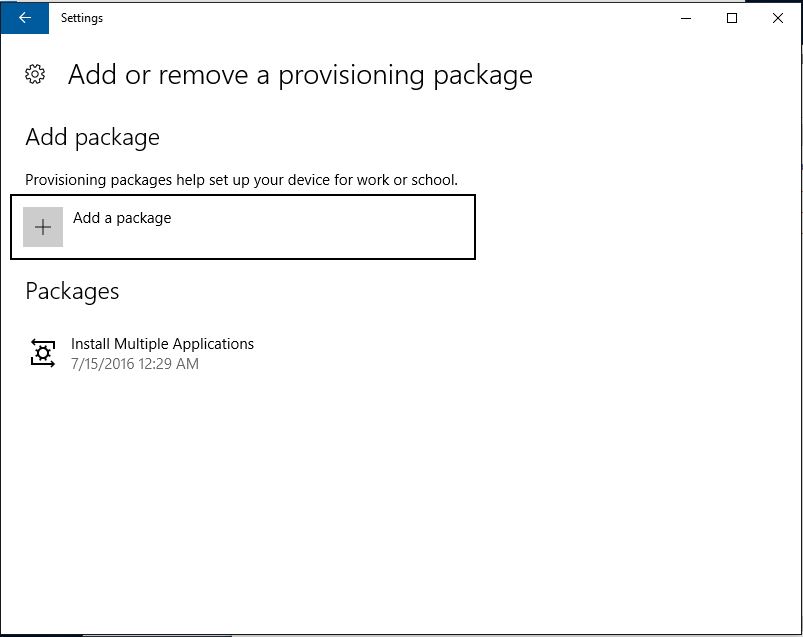
Otherwise you won’t be able to run them again. Then you receive the Provisioning failure with the error code: 0x800700b7
In the next part I will show you have to do above by PowerShell and how you can remove build in apps.
aaaaaaaaarrrrrrrr
*Cpt.
Dan
I’d really like to see part 6 of your series (Part 6: Windows 10 – Provisioning Packages – Install and Remove Applications and Apps by PowerShell). When do you think you’ll publish it?
Philippe
me too 🙂
ed
when is part 6 avail.many thanks