
Pirate,
this is part 2 of my provisioning package series. In this part we will have a look on how to install the Imaging and Creation Designer out of the Windows 10 ADK.
- Part 1: Windows 10 – Provisioning Packages – Overview
- Part 2: Windows 10 – Provisioning Packages – Installation Imaging and Creation Designer
- Part 3: Windows 10 – Provisioning Packages – Frequently Asked Questions
- Part 4: Windows 10 – Provisioning Packages – Install a single Application
- Part 5: Windows 10 – Provisioning Packages – Install multiple Applications
- Part 6: Windows 10 – Provisioning Packages – Install and Remove Applications and Apps by PowerShell
In my last blogpost we dealed with provisioning packages in general. Today we will have a walk through the installation and provisioning process. We will start up with the installation of the Imaging and Creation Designer (ICD) tool which is part of the Windows Assessment and Deployment Kit (Windows ADK) for Windows 10. Which you can get here
Watch out! There is a dependency between the Windows 10 ADK version and the version of the Windows build, when working with edition upgrades. The ADK and the Windows 10 build must be the same, if you want to change the edition of Windows 10.
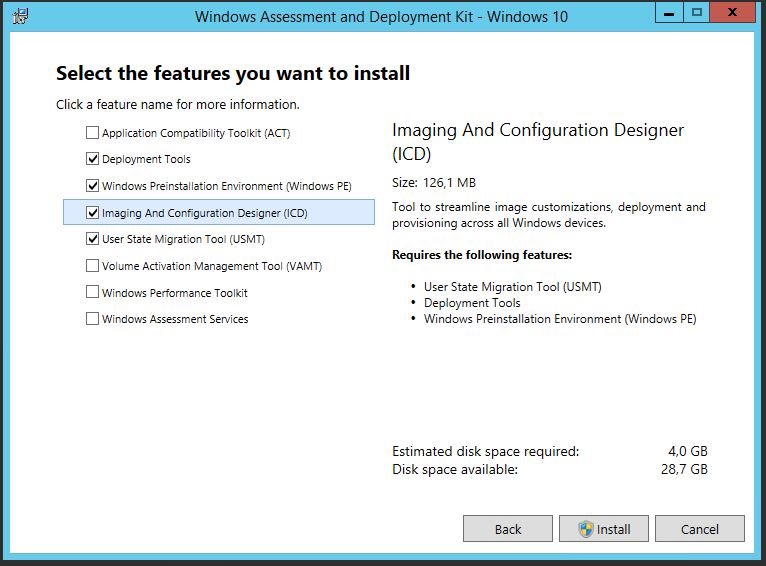
The installation of the ICD is simple and straight forward:


Here you need to select Imaging and Creation Designer (ICD). The Deployment Tools, Windows PE and USMT will be installed as well.
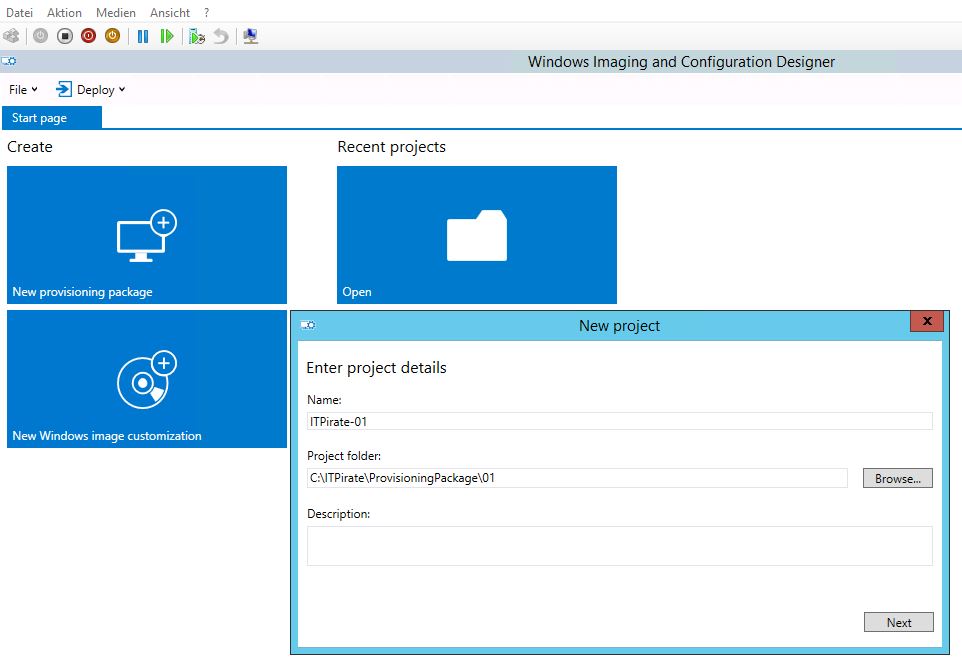
After the installation went through successfully, you need to open ICD . There you click on “New provisioning package”
Here you can select for which editions of Windows 10 you want to create the package… – I will keep the default here.

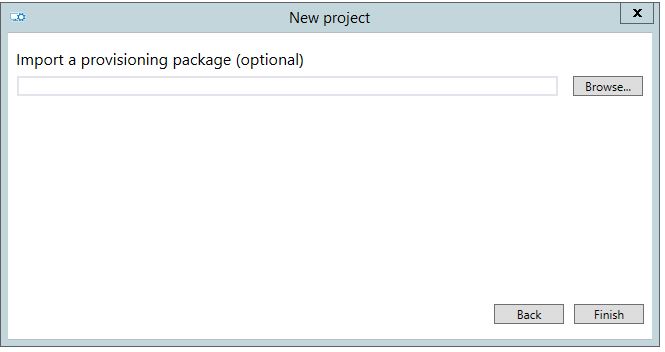
In the next step, you can import an already existing provisioning package. You can only select provisioning packages which were exported without encryption. Once a provisioning package is encrypted, you cannot open it again, even if you are the creator.
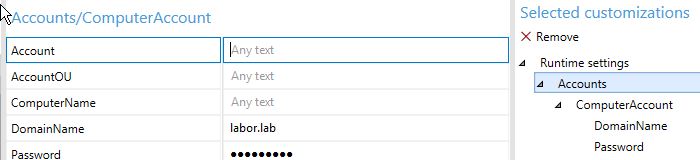
ICD is divided into three sections. In the left pane, you will find all the possible settings. In the mid pane, you will find the configuration settings of each selection point and in the third pane (from left to right), you will see all the already configured options.
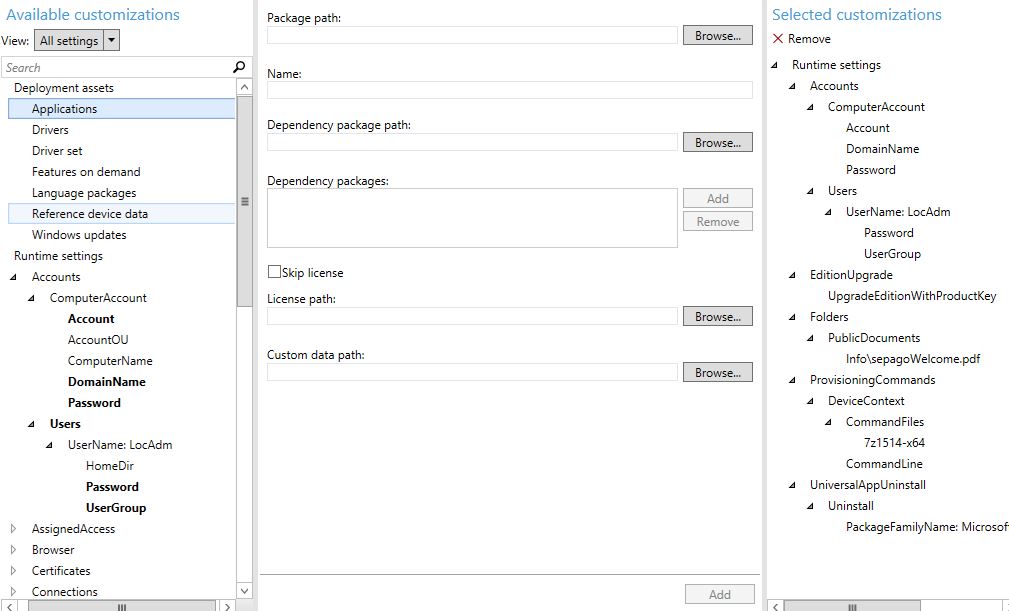
In my provisioning package I will perform a domain join:
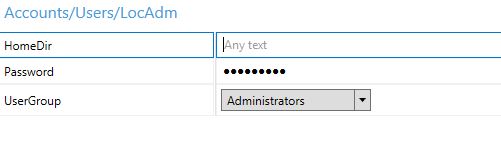
and I will create a local user “LocAdm”:

who will be joined to the local “Administrators” group:
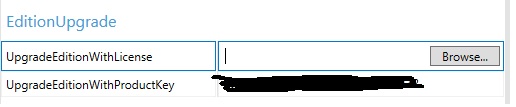
I will force an edition upgrade from Professional to Enterprise:
We will store a “Welcome Document” in the public documents folder:

and install 7-Zip:


Finally we will uninstall the XBox App:

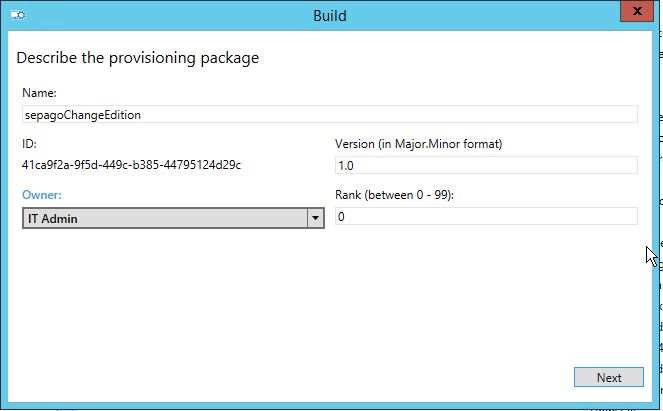
We now need to click on “Export > Provisioning Package”. Here you need to take care of the point “Owner”. It is possible that more than one provisioning packages are being applied on a Windows 10 device. It may be that the provisioning packages contain the same settings OR modify the same setting in another way. Therefore it is possible to change the priortity of the packages. Which can be done by the assignment of an owner or by priortity. The priority affects from IT-Admin to Microsoft in descending order and within these user classes from 0 to 99. For example if you do any changes as IT Admin it always overrides settings from Microsoft no matter which priority was set. But within the same user class the rank takes affect from 0 to 99. Understand?
Order of provisioning package execution:
- Owner
- IT Admin
- Mobile operator
- System integrator
- OEM
- Silicon vendor
- Microsoft
- Priority
- 0-99
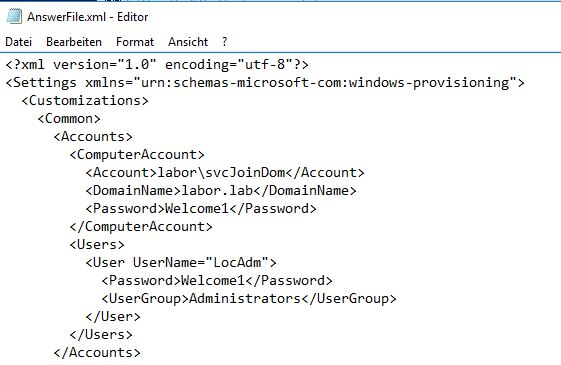
Another important thing is the encryption. If you do not export the provisioning package encrypted the *ppkg can be unzipped by a tool like 7-Zip. Within the files you can find a file called answer.xml which contains all the settings we’ve done. That means the password you used for domain join will appear in clear text. I highly recommend to encrypt them.
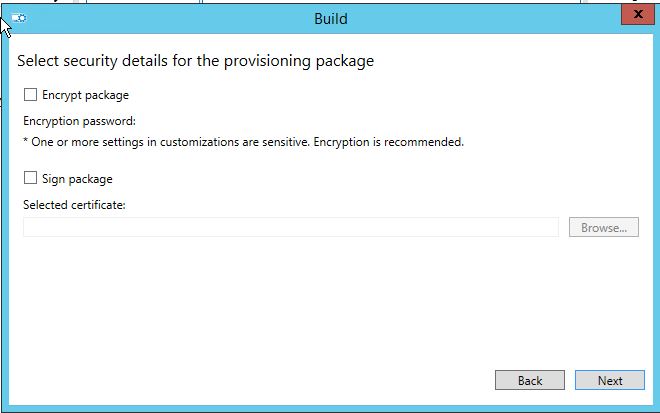
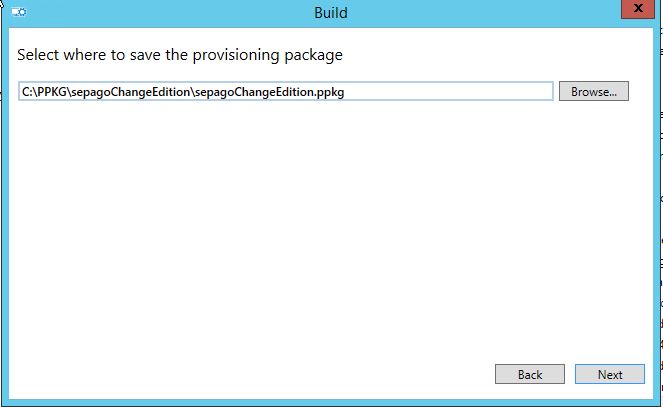
Last step is to select the destination folder and you are done. Simple, right?
And this is how it looks like when you apply a provisioning package.
Aaarg
*Cpt.
Submit a comment on “Windows 10 Provisioning Packages – Installation of the Imaging and Creation Designer (ICD)”